
YouTube
Build Preview
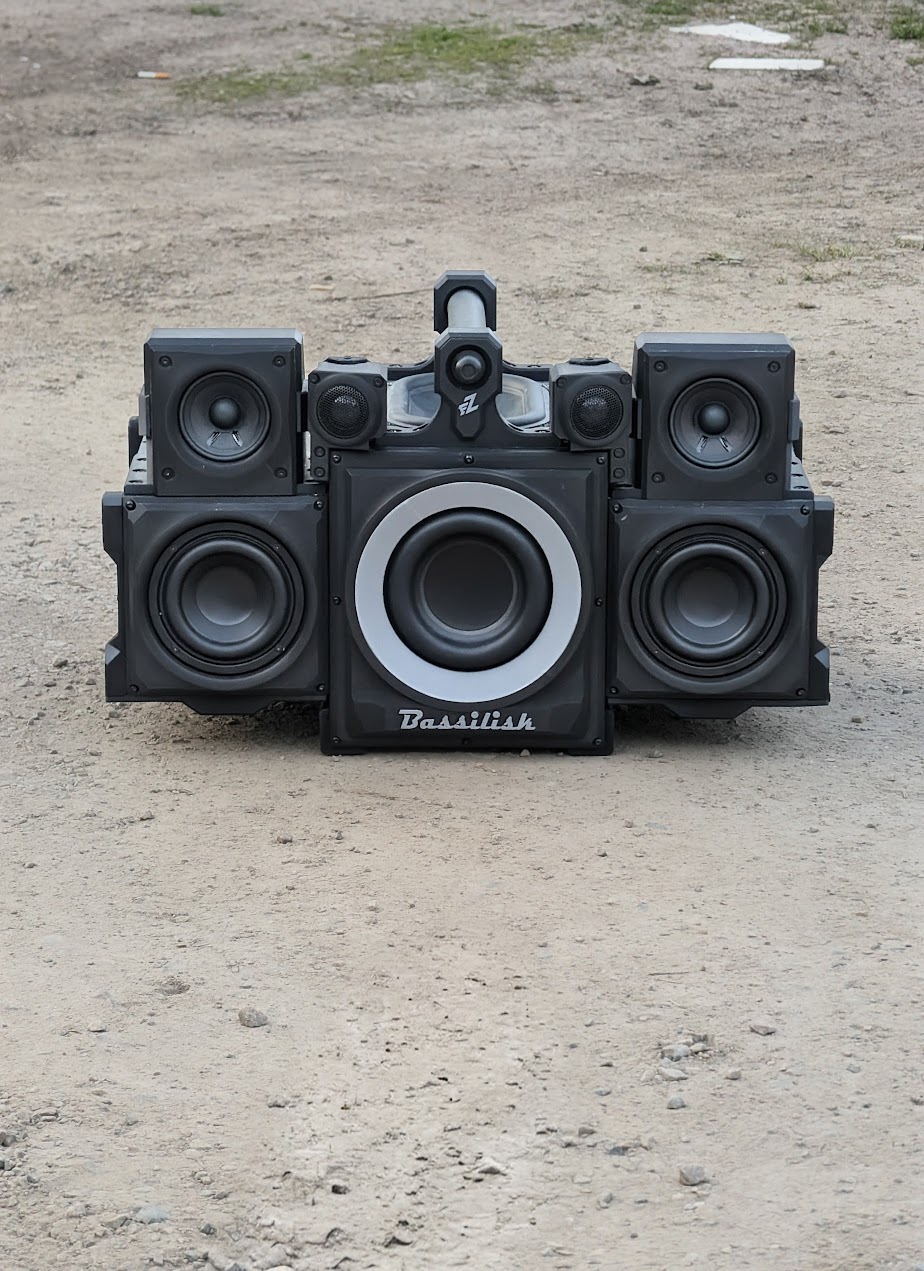
Photos of the finished build. Click any image for full size.
Description
Acive 4-way boombox. The name and the reason for this website to exist in the first place. I wanted to build something interesting and stupid and here we are. This build is now full open source, i will link all the .STL printing models and also the origianl Fusion 360 file so anyone can work with a source. This is my first big portable project and it has a lot of diffuculties when building. It is not straight ready to assembly bombox, you will have to do some raw work, some fine work, a lot of drilling, printing and threaded inserting. And it also cost a lot of money to build one. It is very unusual design, its heavy, very stable and nice, also sounds not bad for a boombox if we keep it realistic about critical listening. I will update this guide with a time and try to add detailed step by steps. You can rework, sell whatever you want.
Media & coverage
1 itemVideos, write-ups, and posts about this build published elsewhere.
Specifications
Figures recorded by the author, measured or taken from datasheets.
- System type
- Active 4-way Mono
- DSP
- ADAU1701
- Amplifier
- TSA8814, 4 × 100 W
- Bass loading
- Passive-radiator
- Response
- 42 Hz–20 kHz
- Maximum SPL
- 103 dB at 1m
- Enclosure material
- 12 mm MDF
- 3D Printed Material
- PLA / PETG
- Weight
- 20–23 kg
- Sub Enclosure
- 10 L
- Mid-bass Enclosure
- 5 L
- Mid Enclosure
- 1 L
Measurements
1 fileкве
System Diagram
10 nodes 9 connectionsSignal and power routing, as wired. Open a node for the part behind it.
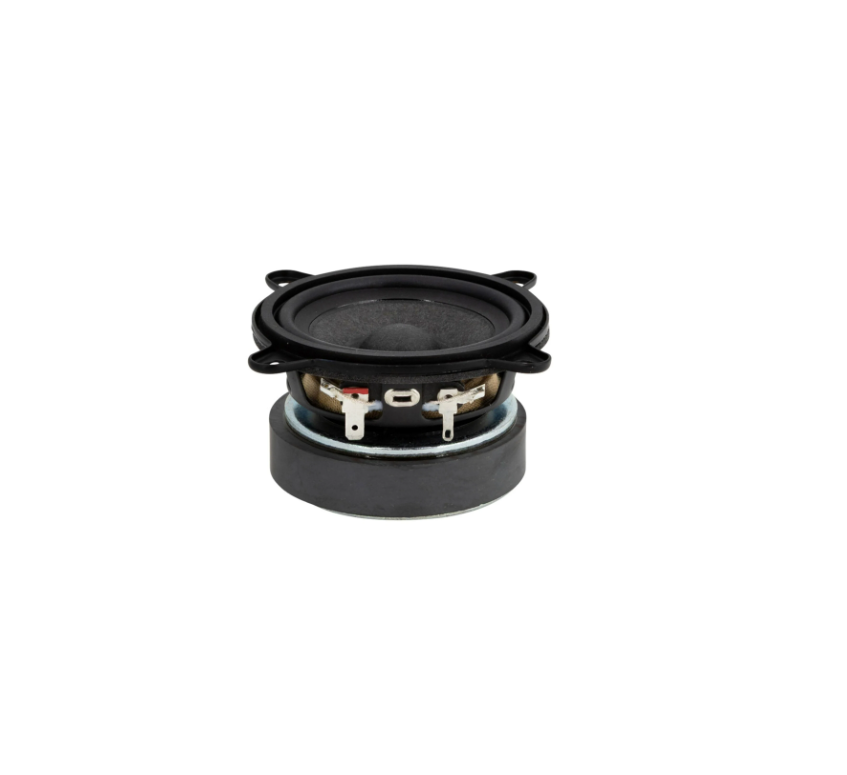 Full-range driver Faital Pro 3FE25
 SPK IN
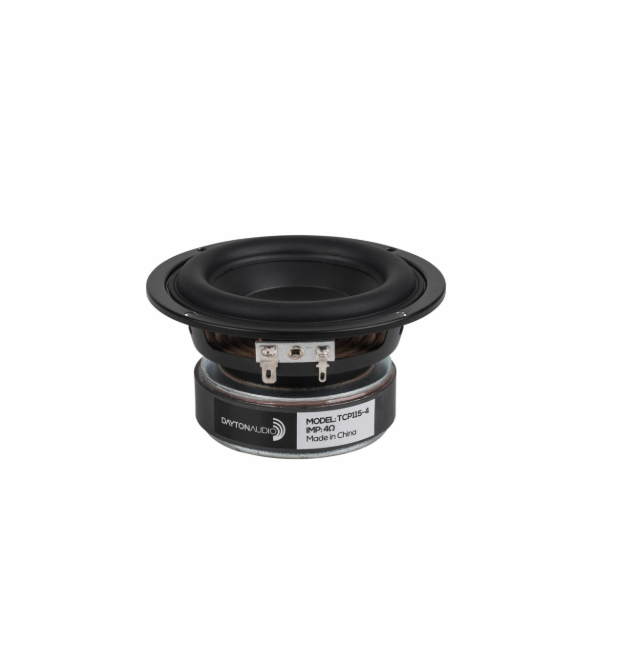 Midwoofer Dayton Audio TCP115-4
 SPK IN
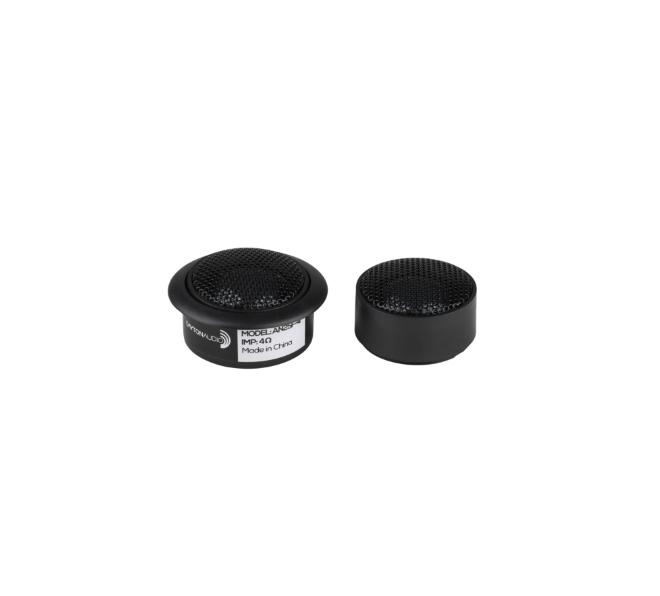 Tweeter Dayton Audio AN25F-4
 SPK IN
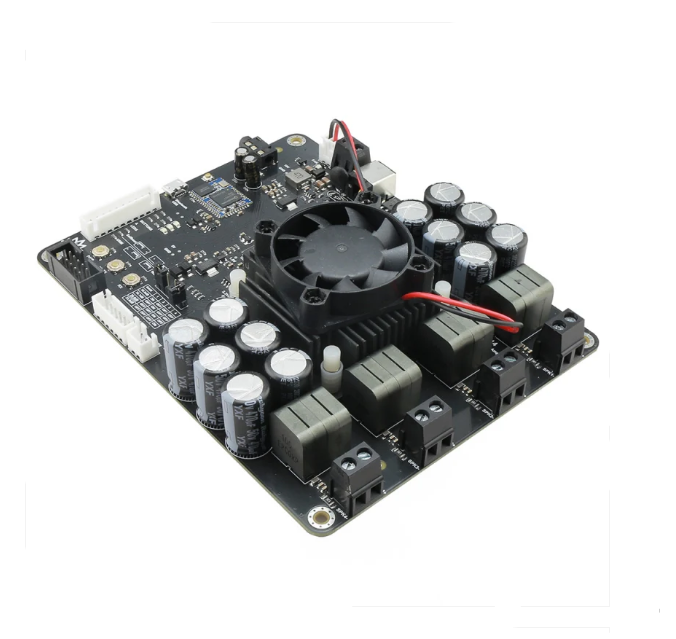 Multi-channel DSP amplifier Tinysine TSA8814
 B+ Bluetooth
1 2 3 4
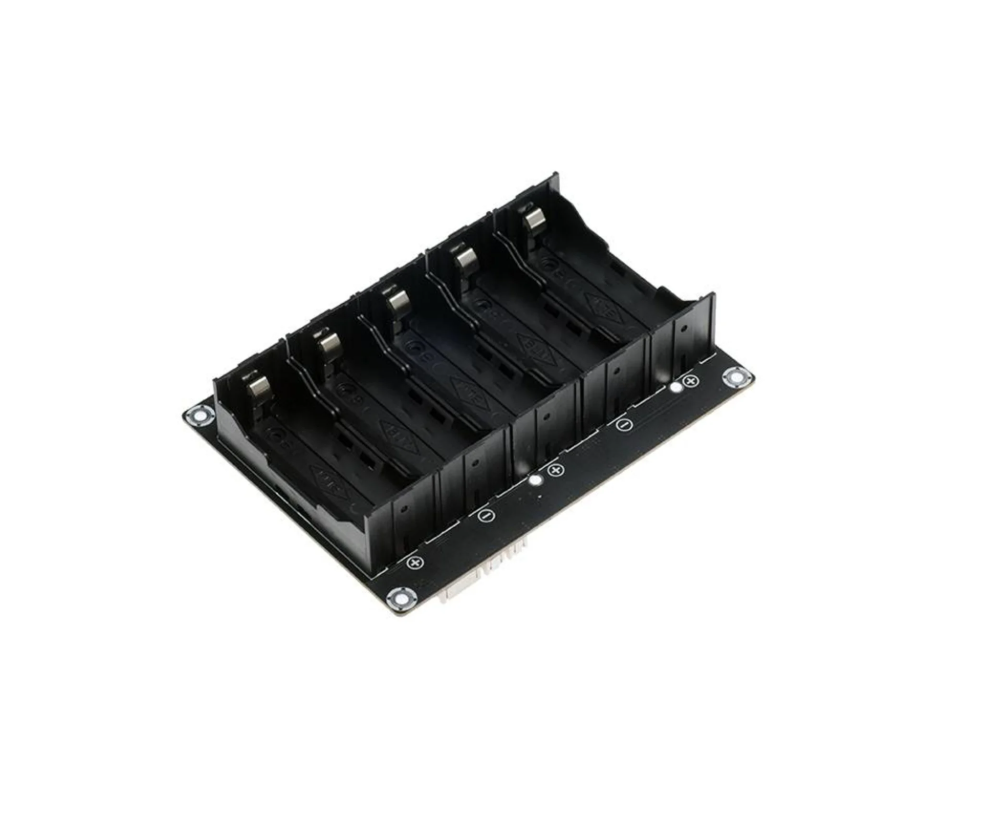 Battery management system Sure Electronics BCPB4
 PROT OUT
Tweeter Dayton Audio AN25F-4 SPK IN
Midwoofer Dayton Audio TCP115-4 SPK IN
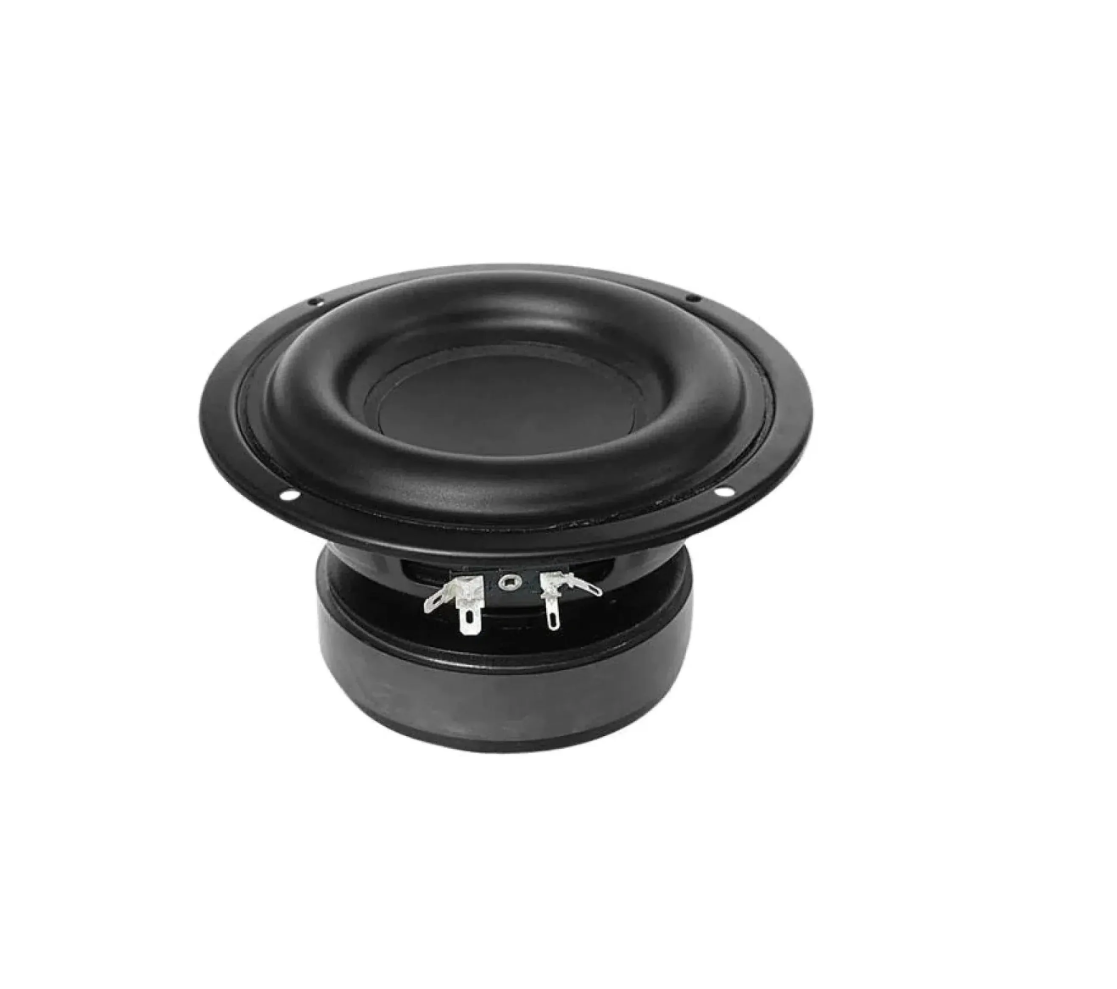 Subwoofer Tang Band W5-1138SMF
 SPK IN
Full-range driver Faital Pro 3FE25 SPK IN
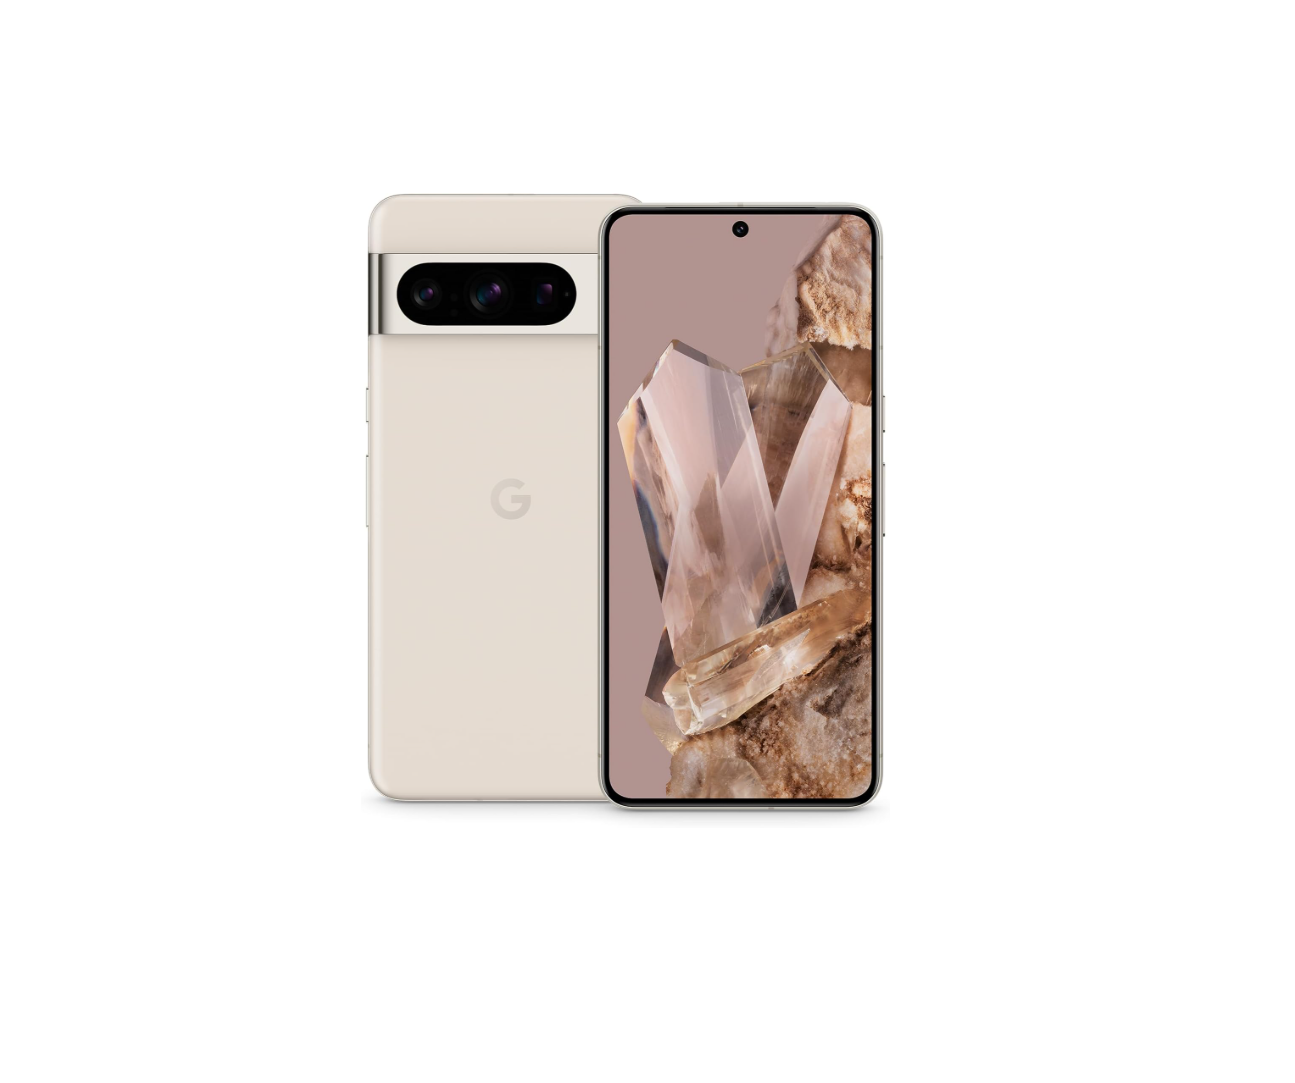 Phone / tablet Google Pixel 8 Pro
 Bluetooth
Faital Pro 3FE25
Part details
- Manufacturer
- Faital Pro
- Model
- 3FE25
Diagram ports
- SPK INInput
Dayton Audio TCP115-4
Part details
- Manufacturer
- Dayton Audio
- Model
- TCP115-4
Diagram ports
- SPK INInput
Dayton Audio AN25F-4
Part details
- Manufacturer
- Dayton Audio
- Model
- AN25F-4
Diagram ports
- SPK INInput
Tinysine TSA8814
Part details
- Manufacturer
- Tinysine
- Model
- TSA8814
Diagram ports
- B+Input
- BluetoothInput
- SPK OUT 1Output
- SPK OUT 2Output
- SPK OUT 3Output
- SPK OUT 4Output
Sure Electronics BCPB4
Part details
- Manufacturer
- Sure Electronics
- Model
- BCPB4
Diagram ports
- PROT OUTOutput
Dayton Audio AN25F-4
Part details
- Manufacturer
- Dayton Audio
- Model
- AN25F-4
Diagram ports
- SPK INInput
Dayton Audio TCP115-4
Part details
- Manufacturer
- Dayton Audio
- Model
- TCP115-4
Diagram ports
- SPK INInput
Tang Band W5-1138SMF
Part details
- Manufacturer
- Tang Band
- Model
- W5-1138SMF
Diagram ports
- SPK INInput
Faital Pro 3FE25
Part details
- Manufacturer
- Faital Pro
- Model
- 3FE25
Diagram ports
- SPK INInput
Google Pixel 8 Pro
Part details
- Manufacturer
- Model
- Pixel 8 Pro
Key specifications
- Supported audio formats
- MP3, FLAC
- Streaming protocols
- Tidal Connect, Bluetooth
- Bluetooth version
- Bluetooth 5.2
- Network connections
- Wi-Fi
Diagram ports
- BluetoothOutput
DC power
- Source port
- PROT OUT
- Target port
- B+
- Purpose
- Power
- Interface
- Terminal
- Transmission
- Copper
- Direction
- One-way
Speaker level
- Source port
- SPK OUT 4
- Target port
- SPK IN
- Purpose
- Speaker audio
- Interface
- Bare wire
- Transmission
- Copper
- Direction
- One-way
Speaker level
- Source port
- SPK OUT 3
- Target port
- SPK IN
- Purpose
- Speaker audio
- Interface
- Bare wire
- Transmission
- Copper
- Direction
- One-way
Speaker level
- Source port
- SPK OUT 3
- Target port
- SPK IN
- Purpose
- Speaker audio
- Interface
- Bare wire
- Transmission
- Copper
- Direction
- One-way
Speaker level
- Source port
- SPK OUT 2
- Target port
- SPK IN
- Purpose
- Speaker audio
- Interface
- Bare wire
- Transmission
- Copper
- Direction
- One-way
Speaker level
- Source port
- SPK OUT 2
- Target port
- SPK IN
- Purpose
- Speaker audio
- Interface
- Bare wire
- Transmission
- Copper
- Direction
- One-way
Speaker level
- Source port
- SPK OUT 1
- Target port
- SPK IN
- Purpose
- Speaker audio
- Interface
- Bare wire
- Transmission
- Copper
- Direction
- One-way
Data
- Source port
- Bluetooth
- Target port
- Bluetooth
- Purpose
- Digital audio
- Interface
- Bluetooth
- Transmission
- Wireless
- Direction
- One-way
Speaker level
- Source port
- SPK OUT 4
- Target port
- SPK IN
- Purpose
- Speaker audio
- Interface
- Bare wire
- Transmission
- Copper
- Direction
- One-way
- Power
- Speaker-level audio
- Digital audio
Build parts
7 unique parts 10 unitsCatalogue parts used here, with roles. Part pages carry the full specs.
-
Tinysine TSA8814
Multi-channel DSP amplifier
-
Faital Pro 3FE25
Full-range driver
-
Dayton Audio TCP115-4
Midwoofer
-
Dayton Audio AN25F-4
Tweeter
-
Sure Electronics BCPB4
Battery management system
-
Tang Band W5-1138SMF
Subwoofer
-
Google Pixel 8 Pro
Phone / tablet
Bill of materials
20 itemsEverything needed for one unit, at the prices paid when it was built.
- Author's total cost
- €461.00
- Bought in
- Germany
- Build year
- 2026
| Qty | Component | Price total | Link |
|---|---|---|---|
| 1 | Tinysine TSA8814 | €80.00 | |
| 2 | Dayton Audio TCP115-4 | €36.00 | |
| 1 | Sure Electronics BCPB4 | €32.00 | |
| 2 | Dayton Audio AN25F-4 | €54.00 | |
| 2 | Faital Pro 3FE25 | €40.00 | |
| 1 | Tang Band W5-1138SMF | €55.00 | |
| 1 | THE ONE Paint & Primer Farbe | €21.00 | |
| 1 | Ponal, Classic Holz Kleber | €5.00 | |
| 1 | Vellental ASA Kleber | €7.00 | |
| 1 | UHU plus endfest 300 Komponentenkleber | €8.00 | |
| 1 | Neoprene 10mm x2mm | €5.00 | |
| 1 | Butylrundschnür | €8.00 | |
| 1 | SOOMJ Alubutyl 2 mm | €20.00 | |
| 1 | DCSk 1.5 mm² Kabel | €15.00 | |
| 3 | 3.9 x 13 mm Schrauben x 50 | €21.00 | |
| 2 | 3.9 x 18 mm Schrauben x 50 | €10.00 | |
| 3 | M3 x 16 mm Schrauben x 50 | €24.00 | |
| 1 | ZHYUAN Handle | €7.00 | |
| 1 | Rundrohr Alu silber Ø 15 mm, 1 m | €4.00 | |
| 1 | M3 Thread Insert x 200 | €9.00 |
A record of one purchase, not a live quote. Prices vary by region.
Downloads & resources
3 resourcesProject files, 3D models, plans, docs, and external resource links.
Project resources are available to members
Sign in to access project files, 3D models, plans, and external resource links.
CAD / technical drawingFirmware / software3D model
Sign in to access resources Creating an account is free.
Build guide
15 stepsOrdered steps for building this yourself, with photos and notes.
3D printer
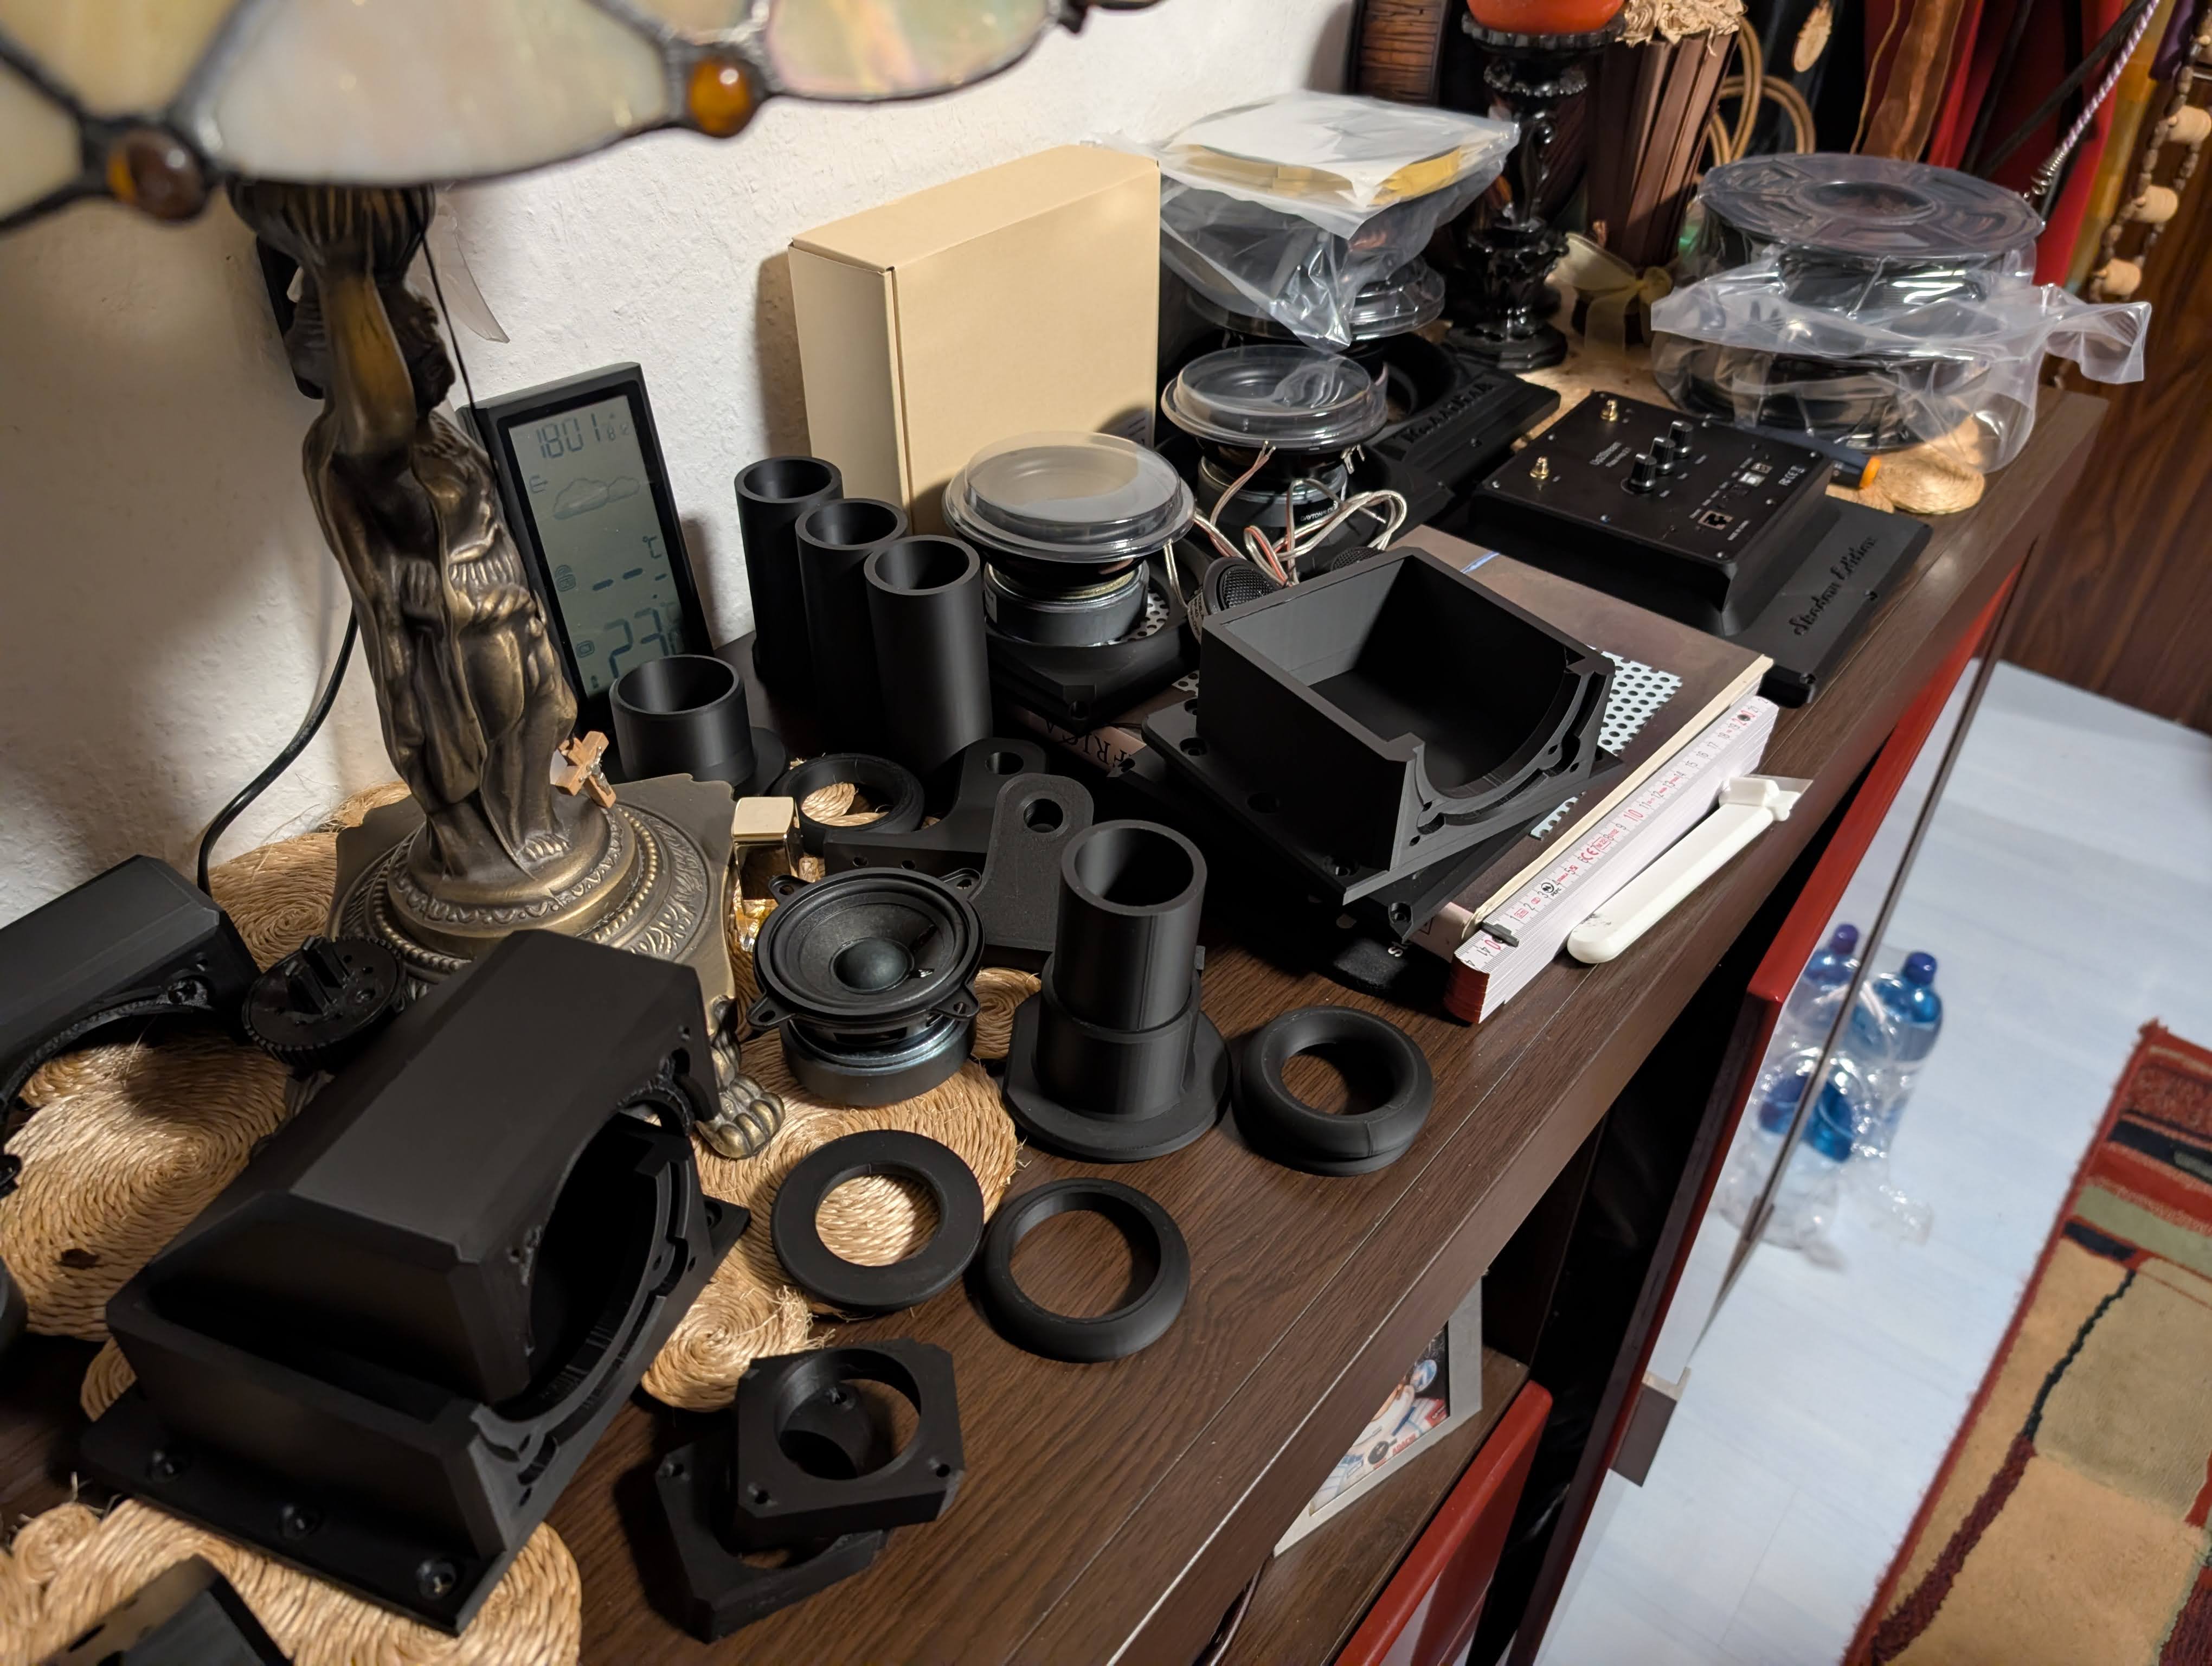
Build requieres 3D printer with 256x256 mm bed. There are a TON of hours of print time for this build so you can start printing days before you actually start build the boombox.
Core enclosures
The core part of the build is MDF enclosures, Total 12 MDF panels, pretty easy one, except for one that top panel that has cutout for passive radiator. I ordered it using .DXF file, You can find DXF file in downloads. section I have used screws to hold the form and glued using normal wooden glue.
Vibration Damping
Use butyl rubber tape, aluminum butyl oder butyl sound deadening mat inside small enclosures, dont need to use in main big block it will have all the electronics inside.
Painting
I love black matt paint for this build and would absolutly recommend you to go with black matte. Becuase it looks dope and it will better hide the inperfections of your MDF. Here in Germany i used THE ONE Paint & Primer: MATT Finish. Any matt wood pain should be fine. You can also skip painting at this point and later paint the whole 3 body parts core.
MDF Enclosures
Use the same wood glue and atleast 2 self-tapping screws that will attach securely small boxes to big one. This is important because we will carry trhe boombox sideways too, it will be heavy and enclosures need to be properly attached. Can be tricky, i used ratched but there should be some space inside the big box. And yes sideboxes should be vertically aligned in the middle and simetrical if possible. You can also paint at this step, doesnt really matter.
Big Glue time
Depending on what material you are printing parts from depends on the glue to use. For PLA, PETG use Cyanoacrylate based Super Glue, works very good, for ABS, ASA etc use different glue types, likes two component.
Midbass ports
Ports are made of out multiple parts and needs to be glued together and than glued to back plate. Here is example of white ports on simple back side and grey on new current back sides.
Top Grip
Now we glue together, assemble, drill holes and mount top handle on mid block. For it to work i recomend to print main parts with atleast 50% gyroid pattern and use 15mm diameter aluminum pipe as a core of handle. Handle core has multiple decoration parts that also need to be glued together. Lenght of the Pipe shouldbe 350mm. Ends will use styling Strela parts that cover raw edge and requires you to drill holes in pipe, use M3 threaded insert into strela and so you mount and secure handle using stoper screw that prevents handle from moving and sliding out.
Midrange enclosures
The next big thing is Midrange Enclosures that consists out of multiple parts that also need to be glueed together. The main are big bottom and top part than decoration ring and than big frame around to hide glued spots. Than on top goes Cover that is mounted using M3 Threaded inserts and Screws. Thing need to be glueed tight without leaks and you can also use butyl rubber tape inside to make it even more tankier and rigid.
Tweeter Enclosures
Tweeter enclosures consist of multiple parts that are mostly not glue but mounted together also using a lot of M3 Threaded inserts and screws. Mounting platform and enclosure parts that go on top of it. Yes you also need to heat Threaded insert into half holes.
Panel Glueing
One of the trickiest parts of the build is glueing and screwing MDF enclosures to 3D printed front and back Panels using EPOXY glue. You have to drill holes for screws, than use epoxy and than screw panels back. The problem is that epoxy is messy and it will leave a lot of martks on plastic and wood if not careful. We will later hide glueing lines with decrations.
Cabling
We want to lay cables throut all the mounted enclosures and than ofcourse seal everything. I was sealing using butyl cord. Keep in mind we will be parallel connecting because our DSP amp is capable to get 2 Ohm load. All the printed enclosures have holes for cables. For MDF you have obviously to make one.
AMP & Power
We want to install AMP and Battery block inside subwoofer enclosure. The battery goes on bottom and amp on side wall. It is kinda tricking, there are models that help installing it but i was using small screws and small ratchet to get them really tight. On photos you can see i am using bytul aluminum anti vibration stuff on the bottom of the boombox and its false, dont do it, because there is risk you will somehow short and burn amp or battery block.
Programming
In order for stuff to work we need to burn TWS firmware to get acess to Aptx-HD Codec for better sound quality. Install sigma studio, load preset i made for bassilisk directly on the board and rename BT chip name.
Sigma Studio
I have tuned and made preset for this boombox. You can download it in download files. Here is how you install it.
Known issues
Faults and limits still unsolved. Read these before you copy the build.
-
Comb filtering
OpenAt the direct listening position we have comb filtering, yes i know its kinda stuff that we have.
-
Passiver radiator rumble
ResolvedPassive radiator rambles after certein amount of pressure,
-
Massive weight
Won't fixShit weight a lot, cant do shit about it sorry
Forum threads linked to this build, covering questions and fixes.