 The Listener
 1. Setup and Calibration
Download Calibration Files: Go to the miniDSP UMIK-1 Product Page and enter your microphone's serial number to download the
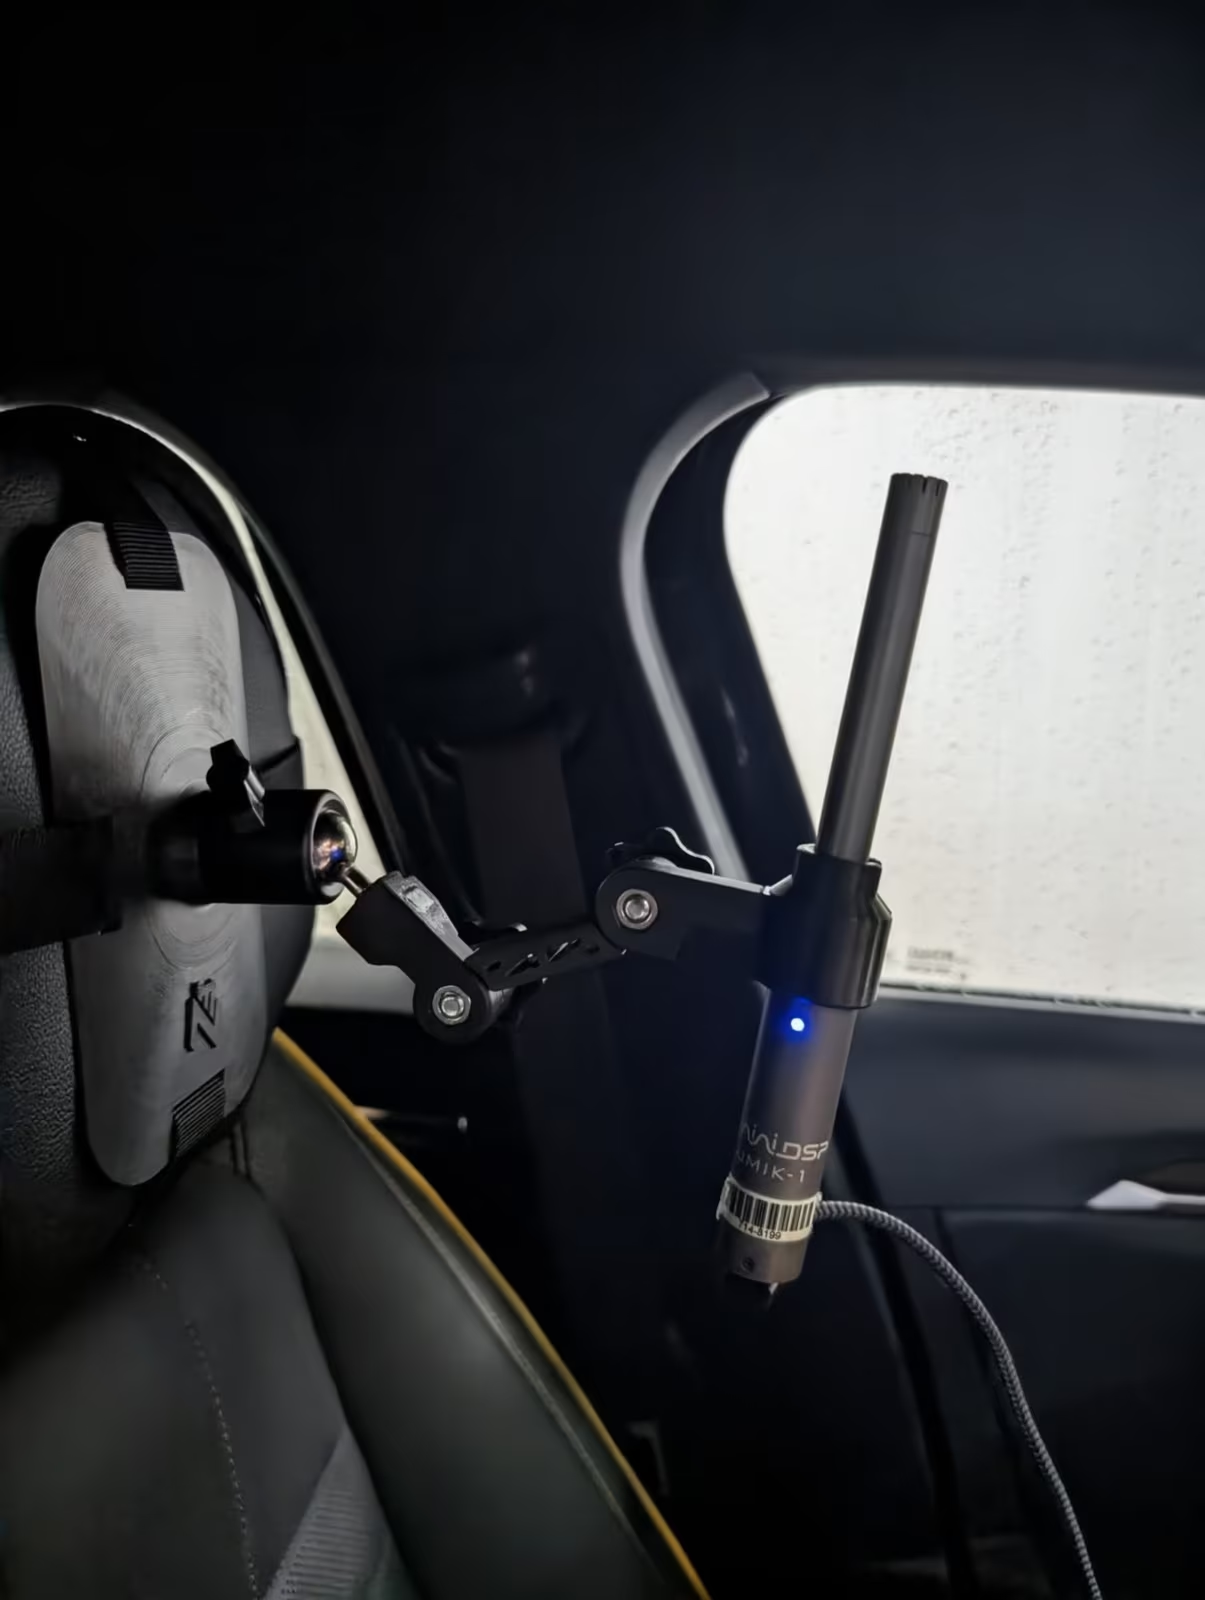
90-degreeand0-degreecalibration files. [1, 2, 3, 4]Mount the Microphone: Place the UMIK-1 on a microphone stand pointing at ear level. For general in-room listening measurements, point the mic towards the ceiling and load the 90-degree calibration file. For direct/on-axis speaker measurements, point it directly at the speaker and use the 0-degree file. [1, 2, 3, 4, 5]
Configure REW Settings: Open REW, go to Preferences, and select the UMIK-1 as both your Input and Output device. Load your 90-degree or 0-degree calibration file in the Mic/Meter tab. [1, 2]
2. Take a Measurement
Calibrate Volume: Open the REW SPL Meter, turn on the signal generator, and set your speaker volume so it measures around 75 dB (a comfortable conversational volume) at the listening position. [1, 2]
Run the Sweep: Close the SPL meter, click the Measure button, and set the sweep parameters (usually 20 Hz to 20,000 Hz). Ensure the volume level is appropriate, and hit Start. REW will play a quick, sweeping frequency tone. [1]
Analyze: Once finished, your frequency response will appear as a graph. You can apply 1/6th or 1/12th smoothing in the Graph menu to make the peaks and dips easier to read. [1]
3. Best Practices
Measure Independently: Test your Left speaker, Right speaker, and Subwoofer individually first before combining them to identify specific room anomalies. []
Understand Reflections: If you are measuring a single speaker outdoors or in a heavily treated area to see its true raw response, use REW's IR Windows to "gate" the signal and remove room reflections. [1]